
Coming from C#, etc., I have been spoilt by source control. Hopefully this post will coalesce the research I’ve needed to do and filtered out the Microsoft-speak around ALM.
This guidance is assuming that:
- You’re on the
masterormainbranch, which ideally you should only be on for an initial commit. - The changes being made are in a Development environment, using Unmanaged Solutions.
Initial configuration
Git
You should have a local copy of a Git repository, perhaps cloned from an online source like GitHub.
Ensure you execute commands from within the folder on your filesystem matching this repository.
The PAC utility
In order to interact with the Power Platform using the command line (a requirement), you will need the PAC utility.
You can download the PAC utility from Microsoft. Some function require the .NET Framework which only works on Windows, but these will not be needed for this.
Authenticate against the tenant
In order to perform any operations with the Environment (hosted on the tenant), you must authenticate with it.
You need to authenticate against the Environment URL, which is available in the Power Platform admin center, by clicking on Manage > Environments and selecting the Environment. The URL needed is below the Environment URL label.
pac auth create --url https://your-environment-key-will-be-different.crm11.dynamics.com/
The response will be something like:

This will possibly ask you to authenticate using a web browser.
This creates an authorization profile, which is can be listed using the command:
pac auth list

Create a baseline
Microsoft’s Power Platform operates using Solution Layers, which can be Managed and Unmanaged. These Layers combine to provide functionality in an environment.
It is not possible to export the Default Solution, which contains the base of a lot of Power Platform functionality.
Custom implementations are built on top of the Default Solution, either in multiple discrete Solutions or managed as part of a single Layer.
These examples will export the Language Learning Solution using the Solution name, LanguageLearningSolution. The Solution name is available using the “…” menu to the right of each Solution and selecting Settings.
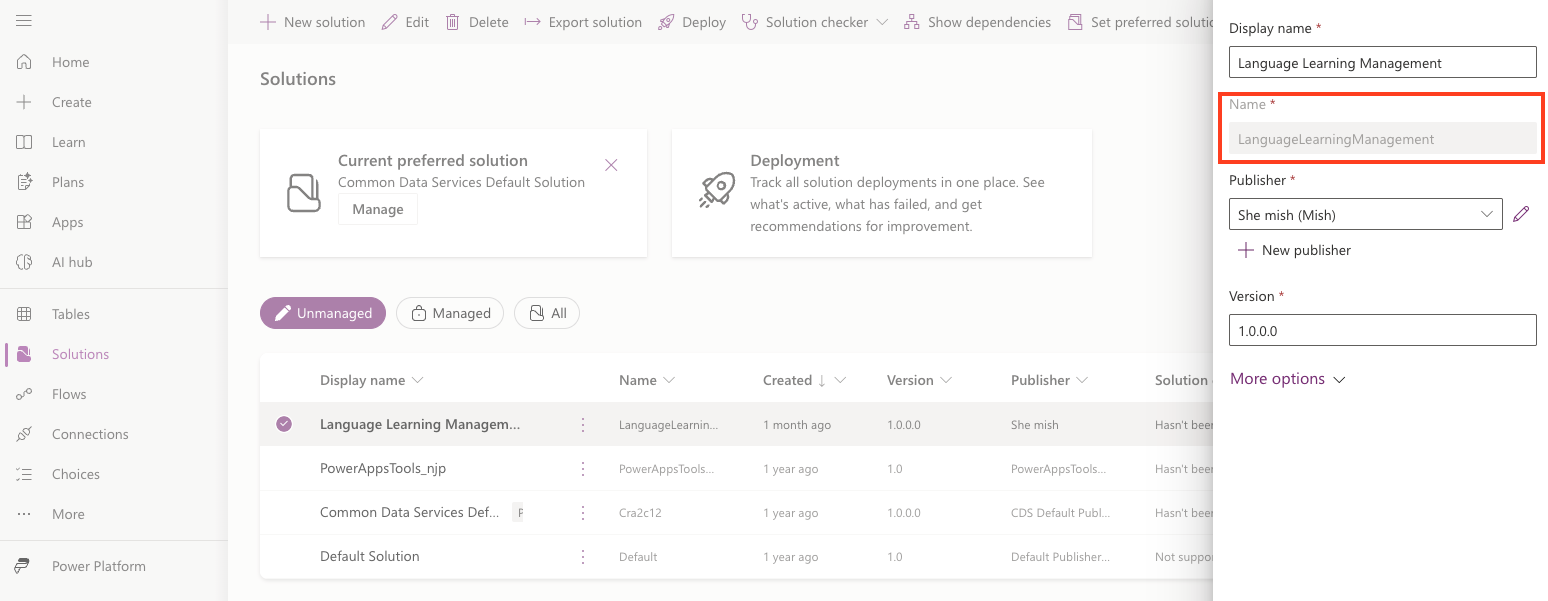
Use the Name field.
All Solutions go in the same place
Put all solutions into the same folder, eg. solutions and make that your current folder.
mkdir solutions && cd solutions
The
&&allows multiple commands to be executed if the command to its left returns0(typically success).
Export and unpack the Solution
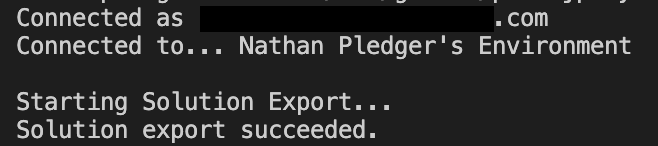
Exporting the Solution form the Environment will download it to the local file-system, in the current path, as a compressed zip file:
pac solution export --name LanguageLearningSolution --managed false
The zip file can be uncompressed into the source files using:
pac solution unpack --zipfile ./exports/LanguageLearningSolution.zip --folder LanguageLearningSolution
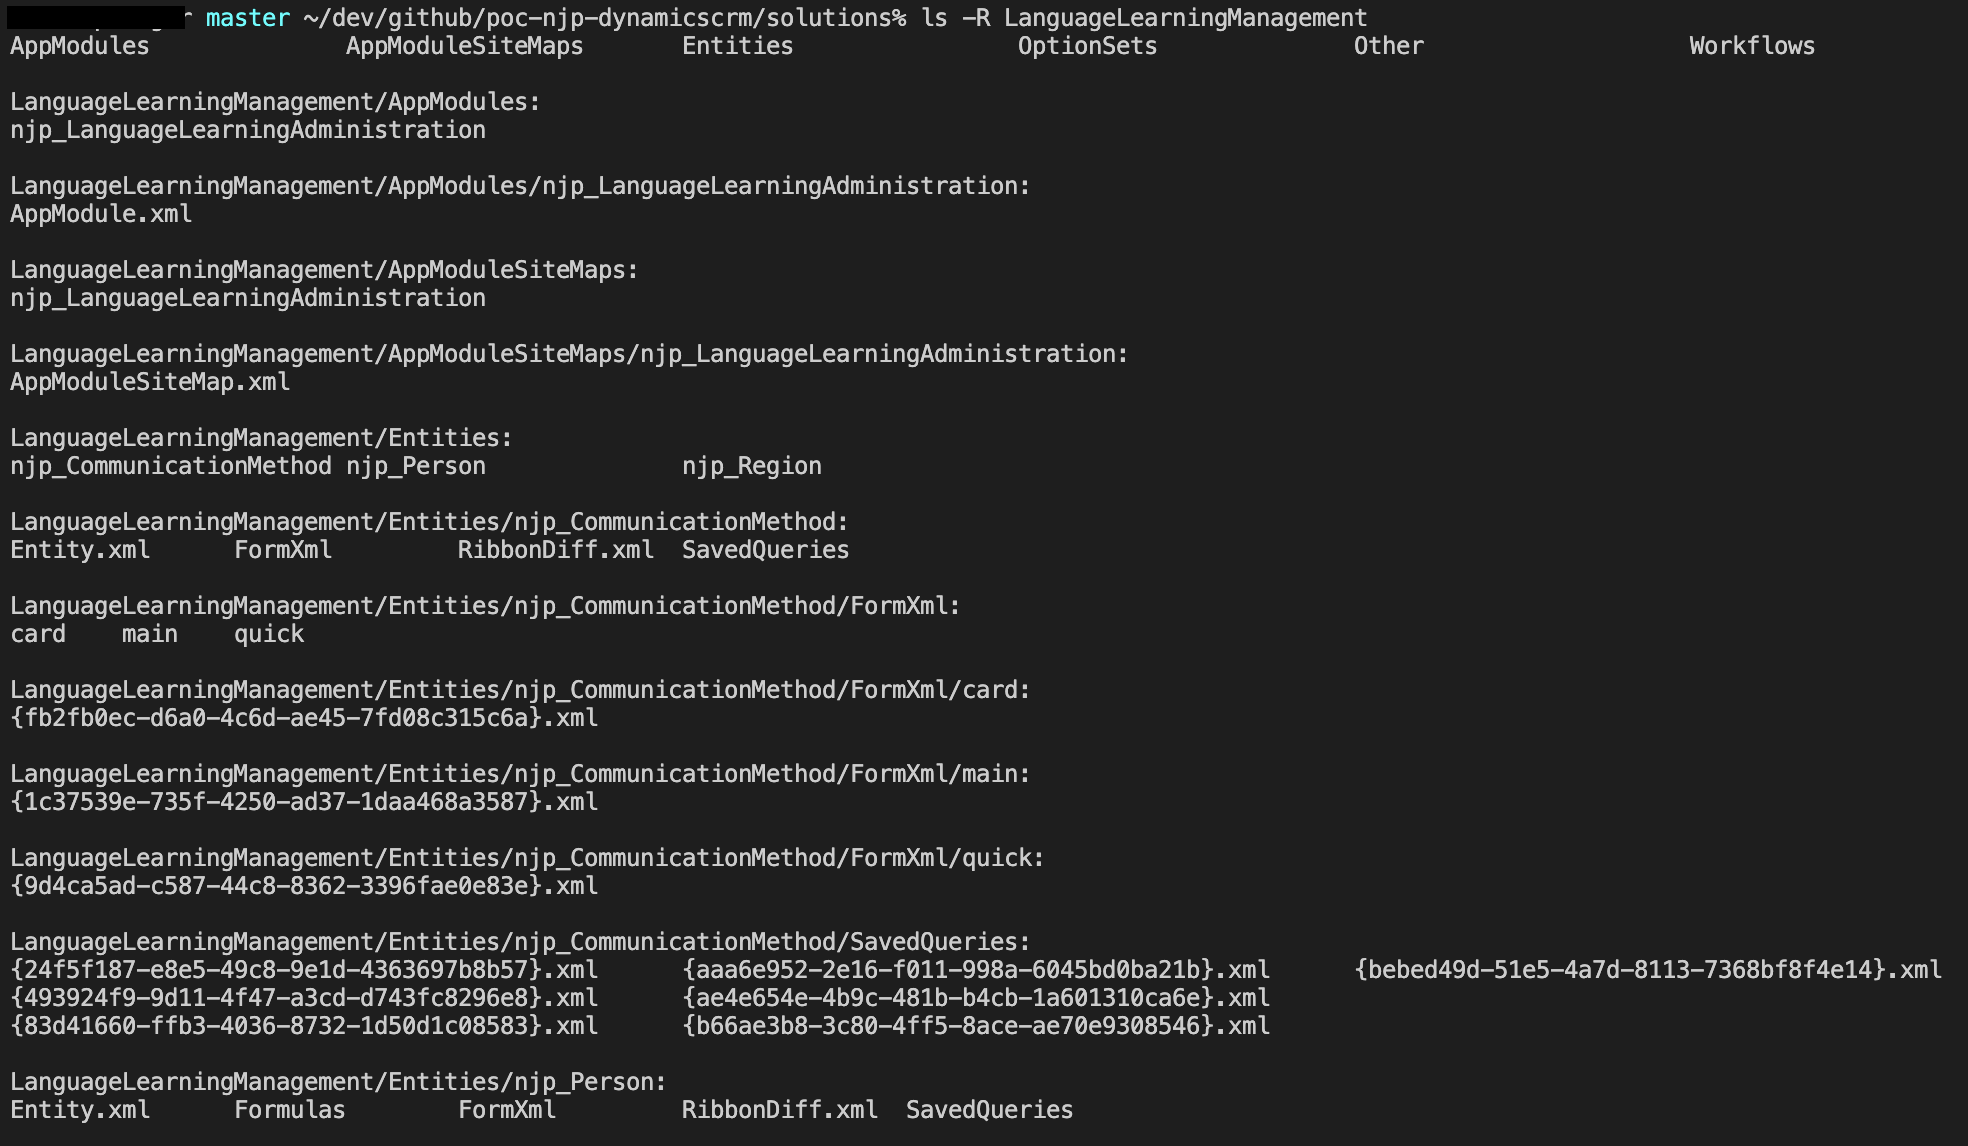
This will expand the compressed file into the constituent files.
Whilst it’s possible to commit the zip file instead of expanding all files, this makes inspecting the file’s changes impossible, so they’re expanded and will become the next commit/changeset.
The files will be a mixture of files, including XML and YAML:
Add the changes to the next commit
In the same folder, add the files to the next commit to GitHub using:
git add .
You can check all files have been added using:
git status
Which will list all the files that will be pushed to GitHub.
Push the changes
Commit the changes with a message to identify the changes:
git commit -m "Initial commit"
And push the changes to the remote GitHub repository:
git push
The files will now be in GitHub:


Leave a comment