
- Get the latest
- Branching
- Perform the change
- Export and unpack the change
- Commit the change
- Review the change and merge
- Other posts in this series
Once the basis for source control using Git has been configured, changes can be added, which can be automatically integrated and reviewed.
Remember to make sure that you’re not performing conflicting movements with other developers. Unfortunately, there is no capability in Power Platform for multiple developers to work on the same thing; and therefore, no merging afterwards!
Before continuing, make sure you’re in your working copy of the development and you’re on the master or main trunk:
git checkout master
Get the latest
You should make sure you’ve picked up the latest changes.
git pull origin
Will pull the latest changes from the remote branch and place in your local repository. If you have conflicting changes in your local copy that you haven’t yet committed, you will be advised of an automatic merge if possible.
If you have local changes that are not in the
masterormaintrunk, this indicates you may have differences between your local copy and/or the online version of your Power Platform Solution.
Navigate to the solutions folder created to store all the Solutions:
cd solutions
Branching
Changes should be within branches off the main or master trunk in source control.
Create a branch for many changes
If you’re releasing a number of changes, it may be useful to create a branch off of main or master to collect these smaller changes.
From the master or main trunk, create a branch and immediately check it out using the git checkout command:
git checkout -b feature/maintenance-2025-05
You can then branch off this for the individual changes.
Create a branch for single changes
From the current branch/location in your working copy, create and checkout the branch to represent the change:
git checkout -b feature/ABC-123-rename-label
This branch name contains the reference to the work order (“ABC-123”) and a short description of the change. The feature identifies the type of change.
This command will create the branch and check it out ready for work.
Perform the change
Make the change online using the Power Platform. Remembering to steer clear from assets being modified by other developers
Export and unpack the change
In order to convert the change into a formal suitable for source control, one must export and unpack the change:
pac solution export --name LanguageLearningManagement --managed false --overwrite
This will export the Language Learning Management Solution as an unmanaged Solution, overwriting any current zip file.
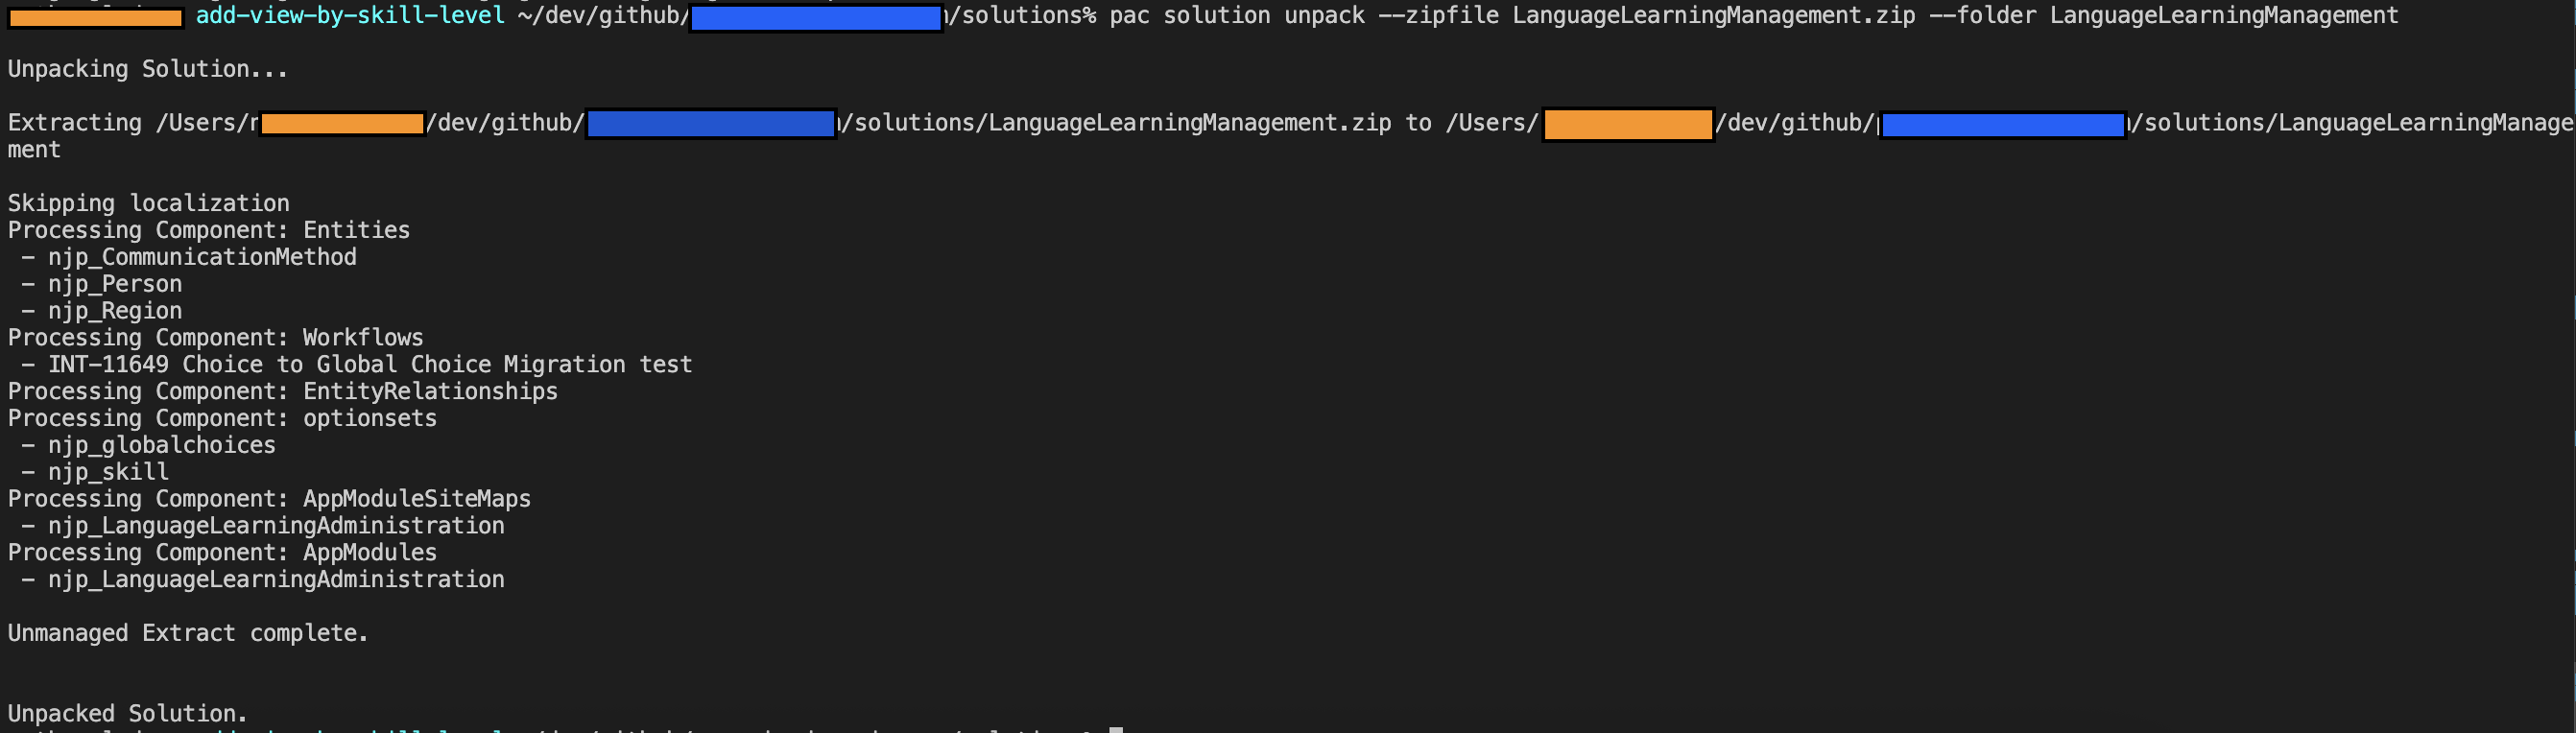
Though this zip file must be unpacked:
pac solution unpack --zipfile LanguageLearningManagement.zip --folder LanguageLearningManagement
This will unpack the Solution into the individual files suitable for source control.
This change set can be verified using git status:

Commit the change
The changes should be added to source control for pushing using:
git add .
The changes can then be committed, with a message:
git commit -m "Adding view"
The changes can then be pushed up into the remote repository:
git push --set-upstream origin feature/add-view-by-skill-level
Note the --set-upstream parameter was added because we used the git checkout -b option to create our branch locally. The --set-upstream option mirrors this change in the remote repository.
Review the change and merge
Returning to GitHub will display a banner indicating that the change has just been pushed to the repository. Alternatively, you can go to the branch using the Branches option.
Create a Pull Request to merge the branch into the main or master trunk, which will represent the version for release.
It is possible to add controls to this process, to require that Pull Requests must be raised for pushing to certain branches and on approval invoking a release to another environment.

Leave a comment